
Mould rears its ugly head all year round, whether it’s in the shower, on the ceiling or on the windowsill. All you need are warm, humid conditions and a lack of ventilation and voila! You’ve got mould spores finding the sweet spot for growth. Then it’s only a matter of time before that distinguished musty smell follows…
You need to deal with mould as a matter of priority when you spot it; after all, it can take a negative toll on your health. But what if the mould is out of sight? Considering the lack of ventilation required, if anything it’s more likely to grow hidden away. To put your mind at rest, we’ve rounded up 7 hidden mould hotspots and how to deal with them, so you can prevent the musty smell before it takes hold.
Note: Before you remove mould, always wear the necessary safety gear for protection, including gloves, safety goggles and a mask. It’s also best to keep the room ventilated by opening doors and windows.
Bleach and vinegar are often recommended for mould removal, but you should never combine them as it releases a lethal chlorine gas.
1. Washing machine detergent drawer roof
We all know mould is a common problem for washing machines – residual water left enclosed in a tight space, combined with soapsuds and heat from the washing cycle, is the perfect breeding ground for mould. So, we should take the time to clean the washing machine with dedicated cleaning cycles and proprietary cleaners, such as Dr. Beckmann’s Service-it Deep Clean Washing Machine Cleaner.
However, there’s a spot that often gets missed: we’re talking about the roof of the detergent drawer. Mould can get so heavy here it can block the jet nozzles and result in a flooded fabric conditioner compartment. When you’re scrubbing the detergent drawer, take a moment to power off the machine and scrub the roof, sides and floor of the housing with a nylon brush (or old toothbrush), using a half-distilled-white-vinegar, half-water solution.

2. Bathroom extractor fan
The bathroom extractor fan is what helps to keep the bathroom ventilated and mould-free, but it, too, can fall victim to mould. Once fluff gets caught in the fan’s system, the mould has a substance to feed and grow on! Then, when the fan’s not on, that same musty smell, as well as mould spores, can drift back into the bathroom.
First and foremost, you should follow the care and cleaning instructions as recommended by your extractor fan brand, otherwise you risk invalidating the warranty. But, if none are given, or you’re willing to take the risk, start by cutting the power to the fan completely (for safety reasons). Then carefully remove the cover, either by unscrewing it or exposing and pinching the metal spring clips (like a pair of tongs).
The cover should be purely plastic, so you can soak and scrub it in warm soapy water and then rinse and dry. For the housing, you can carefully use a vacuum with the soft brush tool attachment and a low power setting (make sure it has a HEPA filter so you’re unlikely to spread spores). Run an air purifier in the room at the same time to minimise the chance of spores spreading and empty the vacuum outside immediately afterwards. If necessary, you can carefully spot-clean the fan with a damp microfibre cloth and a mild detergent solution. Make sure the cloth is damp, not sopping, and take care to avoid any electrics. Then replace everything afterwards once dry.
3. Behind the headboard
The headboard – or, rather, behind it – is a primary growth spot for mould because it’s often secured flush against a wall with regular access to moisture, thanks to us breathing and sweating through the night. You might not know it’s there, but walls in general are often inflicted with mould, especially if they’re blocked with furniture or are north-facing (where the house will be at its coolest and most-damp). Older homes that lack modern insulation in particular can struggle with this.
To clean mould from walls, you need to mix a solution of one part chlorine bleach to four parts water and apply it using a stiff-bristled brush, testing in an inconspicuous area first. Then rinse and leave to dry. To prevent mould like this in the future, try to move the furniture slightly away from the wall for better ventilation, or use disposable dehumidifiers if you’re dealing with mould inside fixed kitchen cabinets.

4. Overflow hole
Unless it starts to smell or block, we rarely stop to think about what’s lingering in our drains – and the overflow hole is no exception. This is the small hole adjacent to the plug in your bathroom sink; it stops the water from overflowing by draining when it reaches a certain level. But as we rarely – if ever – clean the overflow hole, it’s a hotspot for hidden mould.
To clean it, you simply need to tip in a cup of distilled white vinegar (use a funnel to help), then leave it for one hour to kill the mould before flushing with hot water. You can then use a drain snake to dislodge any final residue (use a small one that should fit overflow holes, such as BestWayDigital Drain Unblocker) then rinse again. Repeat the process but with one cup of bicarb before the vinegar to help remove odours (you only need to wait 5 minutes in this case before rinsing).
You can alternatively spritz a mould killer in through the overflow hole (one designed for sinks, such as Cillit Bang Black Mould Remover) and then rinse.
5. Water butt
Water butts can easily become bacteria cauldrons, thanks to the stagnant water and the fact they’re enclosed and often left sitting in the sun. We rarely think about how dirty it might be until we notice the effects on the water, often turning a murky green colour with a soupy consistency, not to mention a rancid smell.
To clean your water butt, you need to wait until it’s almost empty, then, with great care, tip out the rest, ideally away from the house on well-established plants that can better handle stagnant water. Once empty, disassemble and rinse it, outside and in, with a gentle hose. Do not use a pressure washer here, as it can easily repel and spray back. You can use a mild, eco-friendly washing up detergent if necessary, but make sure it’s thoroughly rinsed away afterwards so it won’t affect your plants. In the future, you can use a water butt treatment such as Hozelock to prevent green water and smells.

6. Carpets
Mould often hides in our carpets beneath furniture. If you stumble upon this, first we recommend vacuuming up the immediate spores; again use a vacuum with a HEPA filter and empty the canister outside immediately afterwards. Then spritz (don’t saturate) the area affected using a solution of one part vinegar to two parts water. Blot, rinse and leave to dry. If there’s a lingering smell, sprinkle bicarb on top with a sieve and leave for 24 hours before vacuuming up. This final step helps to remove odours. Alternatively, you can use a proprietary mould remover designed for carpets, such as Furniture Clinic Mould Remover.
If the mould is hidden beneath the carpet, you need to work out what’s causing the issue and plug the leak, whether it’s a leaky gutter or seepage in the walls; a professional may be required to help with this. To deal with the mould, first clean the carpet as instructed above (removing it if possible). Following this, the underlay may need replacing if that’s affected. If the mould has penetrated the subfloor and has reached severe levels, we’d recommend hiring in a professional to inspect it, as it could indicate insulation or ventilation issues.
7. Behind the towel rail
This one’s not so much hidden as it is annoying. Mould can crop up behind the towel rail thanks to the constant moisture from nearby towels. It’s treatable with the instructions mentioned above in point three, but it’s awkward to reach by hand. For this task, you’d need an appropriately sized retractable scrubbing brush, such as this one from Generic.
You’d need to make sure it’s thin and adjustable, because there’s limited space, depending on the width of your towel rail and its clearance from the floor. If you can’t find anything thin enough to access the space, you might need to safely remove the rail from the wall to reach the mould. In the future, try to heat the towel rail more regularly to prevent damp and smelly towels from sitting close to the walls for long periods of time, especially in the winter. Try to dry any drips that flick on to the wall as you wash and dry your hands, too.
The GHI's best dehumidifiers


Score: 97/100

Score: 92/100
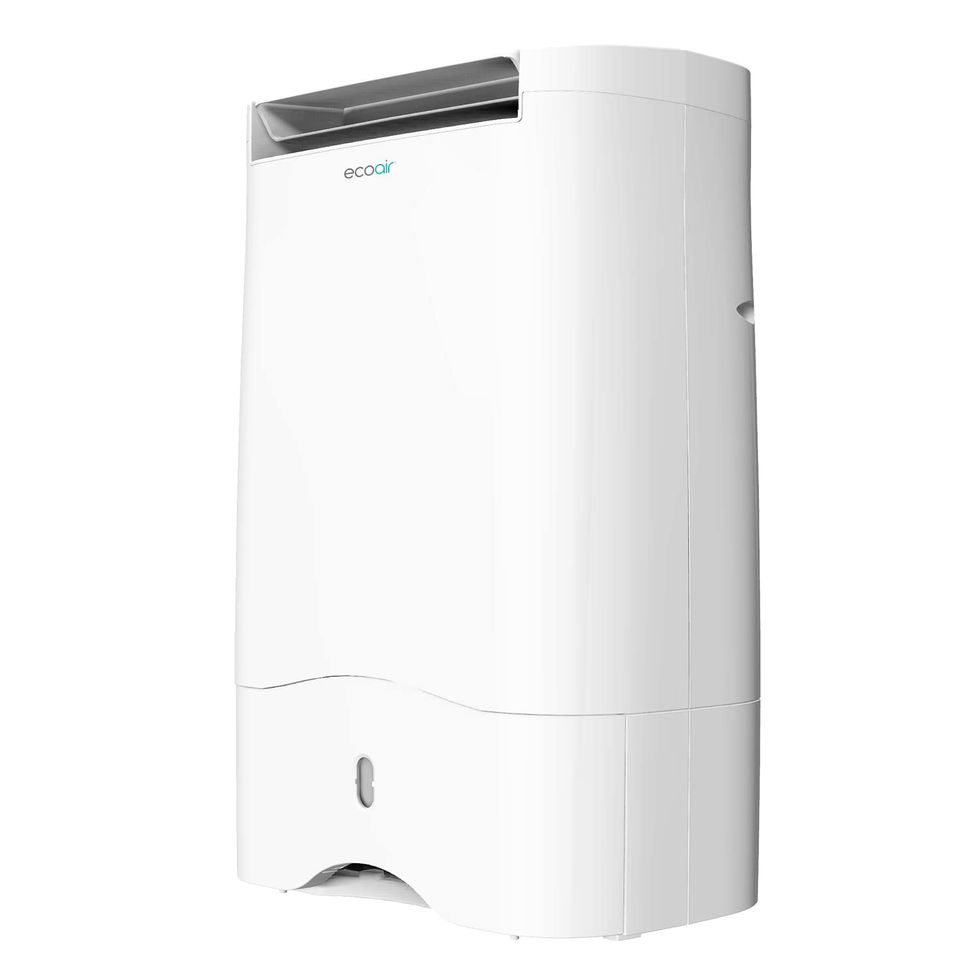
Score: 92/100


